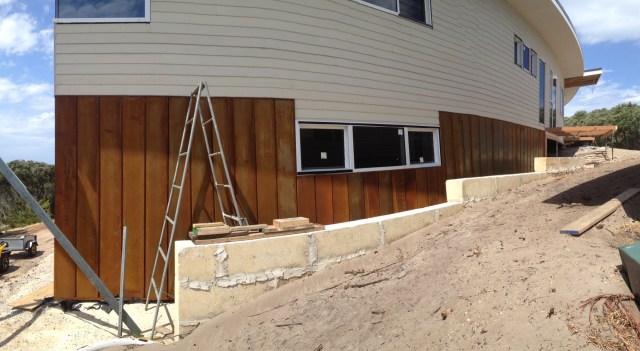
The outside
Sunday 20 November 2016 – Sunday 11 December 2016
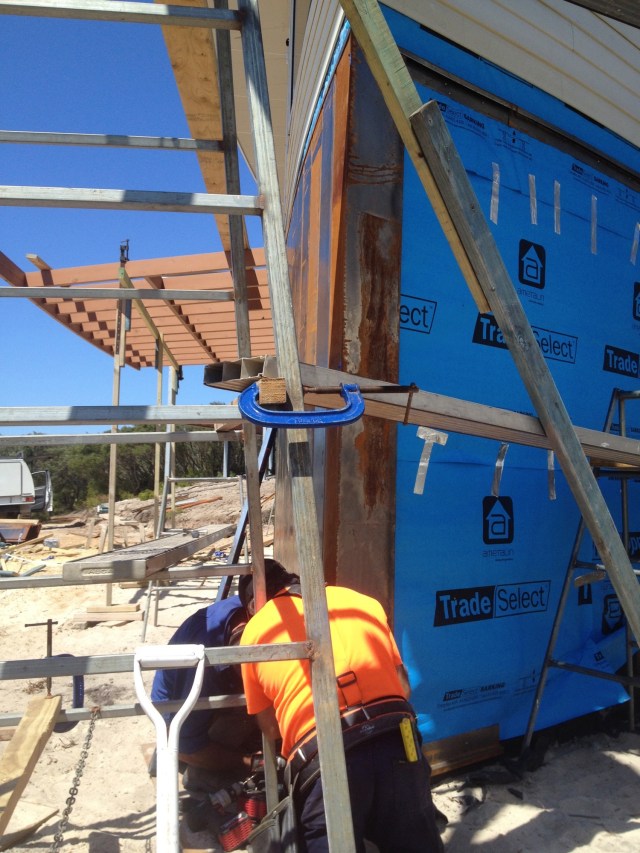
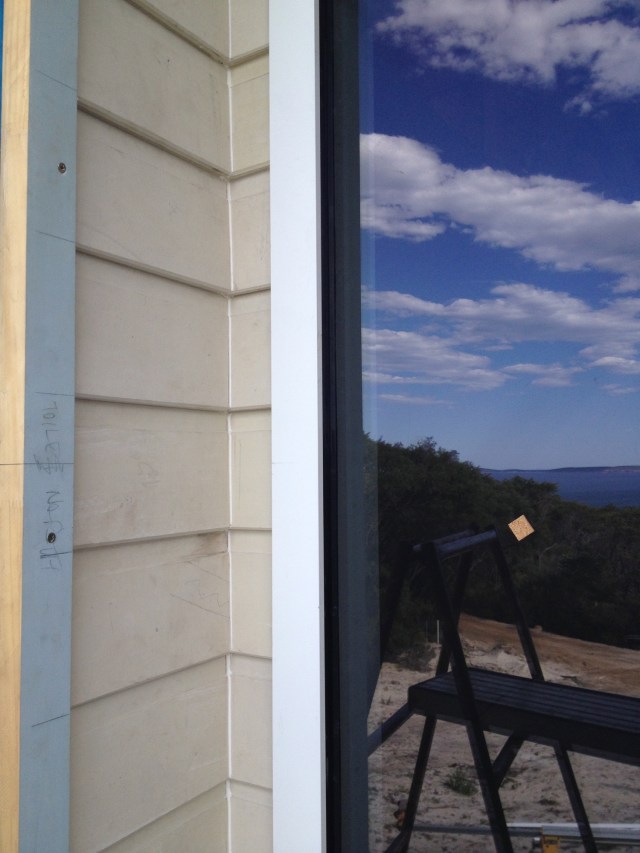
Its been a millennium or so since the last update and although the speed of the build and the changes to the physical appearance of the exterior have slowed somewhat we are progressing ever forward. Ash has just had a couple of weeks off to attend to some of his other clients needs and Nino also took the opportunity to take a weeks’ leave and tidy up some loose ends which naturally occur when you are devoting so much time continuously to the one project.
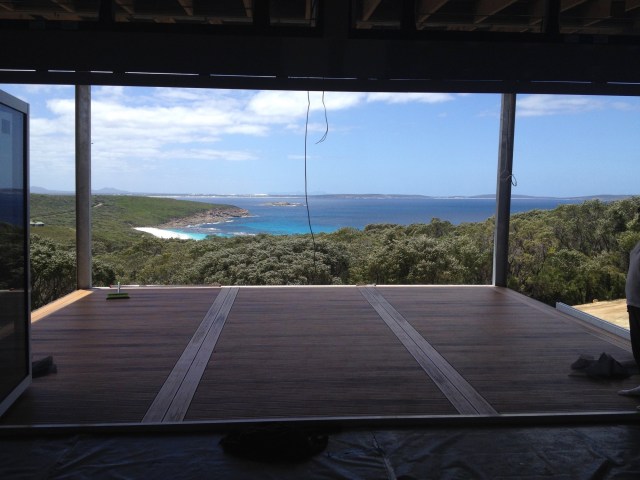
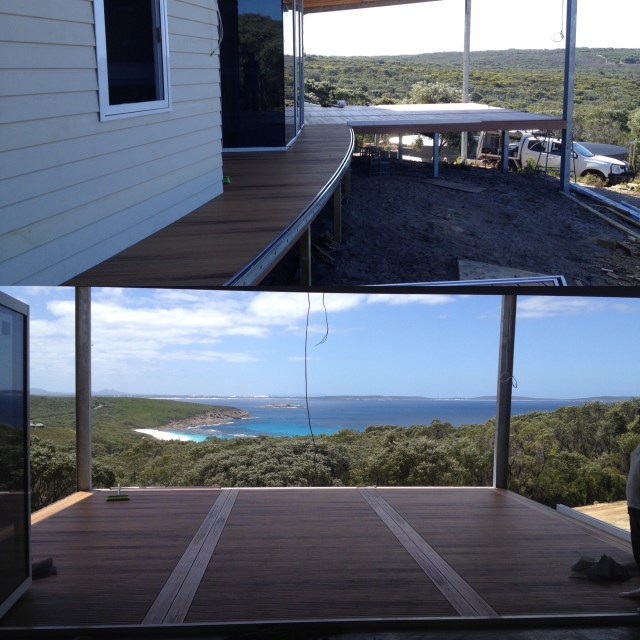
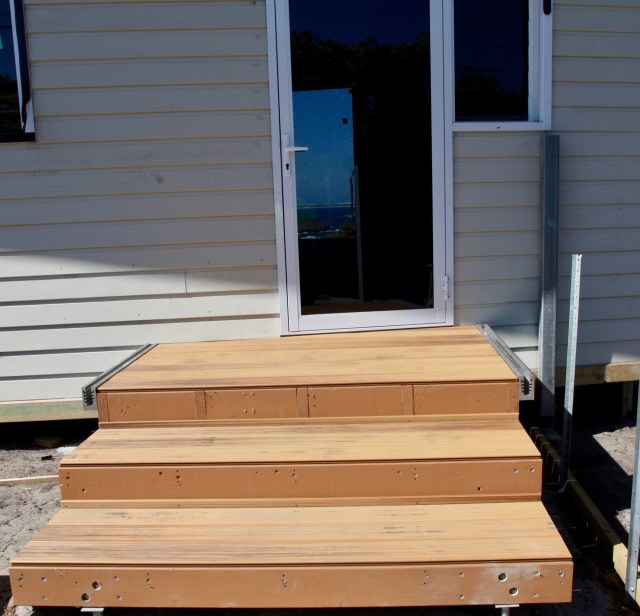
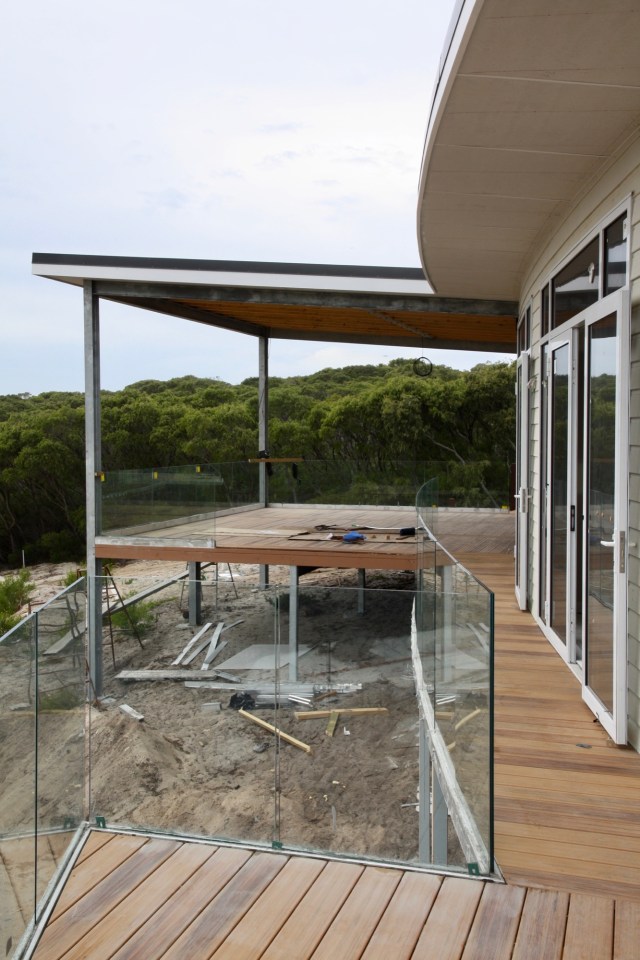
That said the front deck is now almost complete from one end of the house to the other.

Eastern End Finished

East to Main Deck

Main Deck

Main Deck to Western End
I’m the hold up on the unfinished portion of the Western End. The cladding underneath this bit of unfinished deck (aka: above the Secret Men’s Business door) needs to be done before completing the deck above, and I have to decide how this is to be finished.
 The entry to the main door and pantry have been framed and the same Duralife decking has been installed. Eamon Hurley is the man to ring for orders and quotes.
The finished main Entrance.
We will use leftover Glass Balustrade channel to frame our entrances with glass (or something else. 😄)
The other two entrances on this south side have also been framed and decked.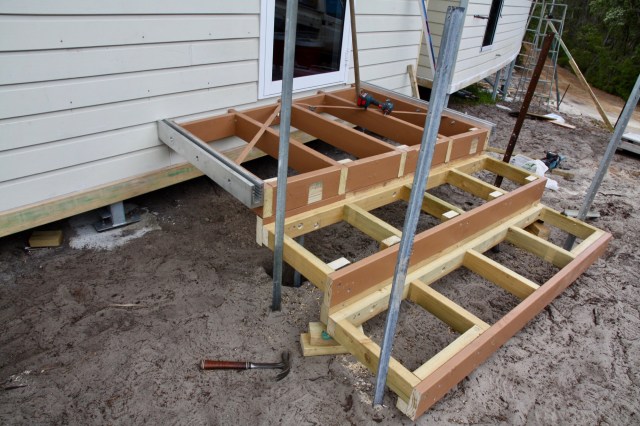
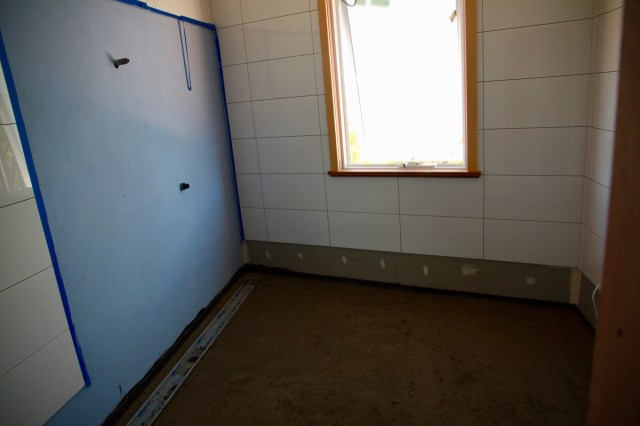
 The pantry

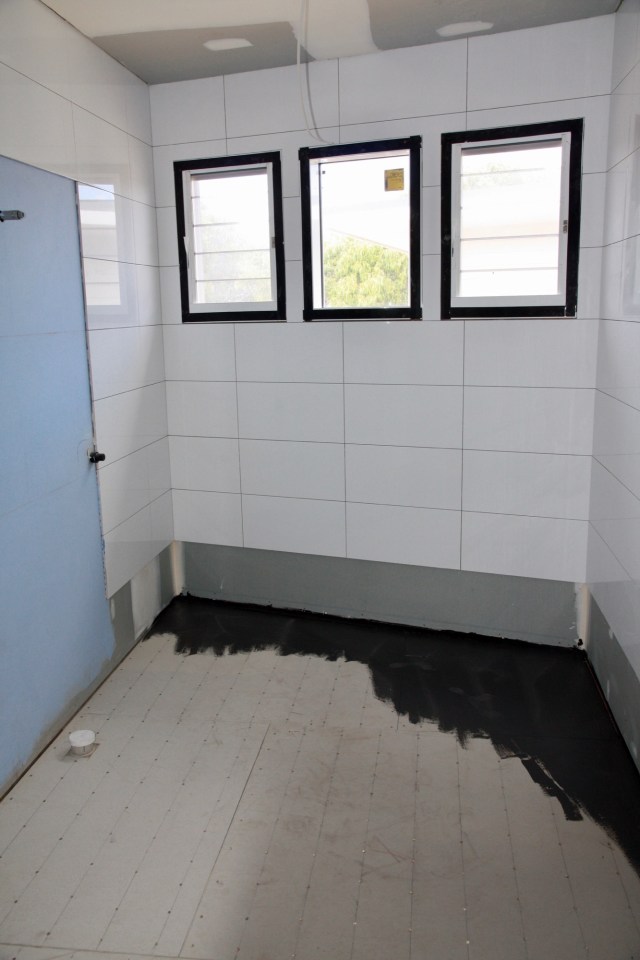
….And the Laundry.
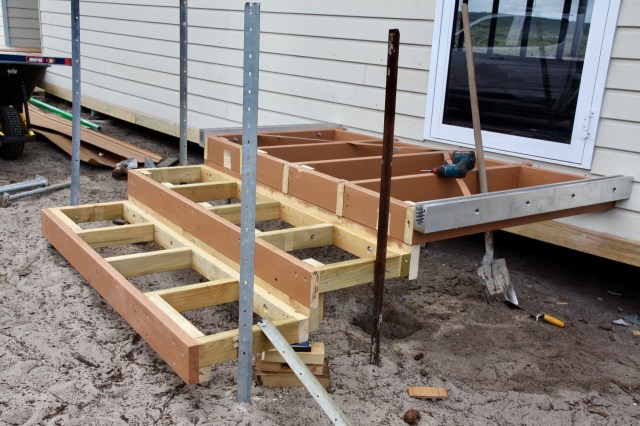
We decided to included a ramp instead of the original stairs after seeing how high the deck was above ground level, that then necessitated a change of framing which was accomplished with little fuss and the usual enthusiasm. ( While I was present anyway!) We figure stainless wire as a balustrade here, so as we can continue it along the retaining wall beside the house.
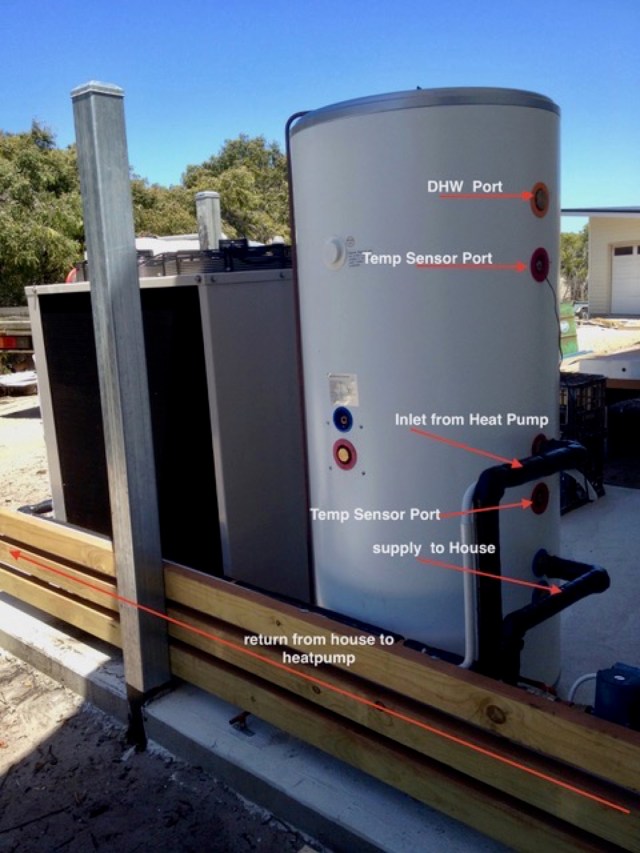
The service area (Below) has been set out and a cement floor has been laid to house the heat pump and buffer tank for the Warmboard hydronic heating system, two LPG gas cylinders (for cooking and automatic domestic HWS boost) HWS storage tank and gas booster for the evacuated tube solar HWS system, and two rubbish bins.
Service area
When finished this area will be enclosed with an aluminium strip cladding
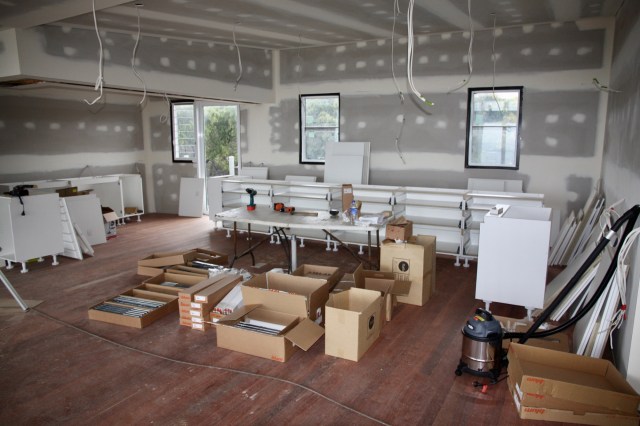
The Inside…
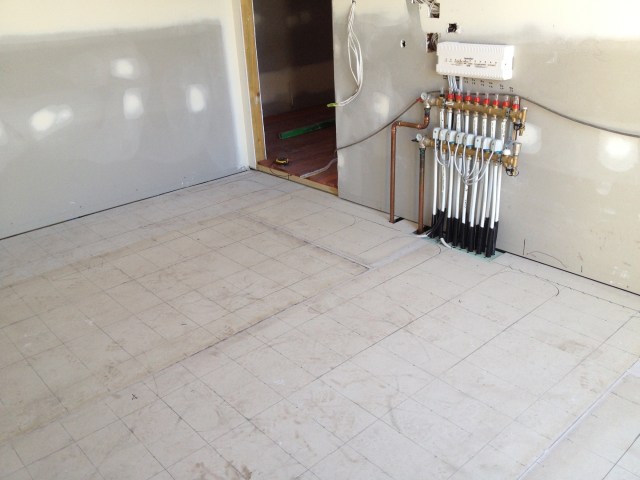
Laying the Pex.
To recap: We are having UFH in the downstairs room, this is over a cement slab, and upstairs UFH is over joists. Warmboard S is used upstairs as it is 28mm thick and is a structural subfloor. Even although downstairs is over a cement slab we could still have used Warmboard R which is a thinner version of the Warmboard S. Why we didn’t do this I can’t remember, perhaps it was the cost but it would have been simpler and probably less confusing for those of us that don’t know anything about UFH.
So we started laying the pex….

Vacuuming the grooves

laying the Pex
As we had not opened any of the pex packages,and thinking all pex we had were the same we started with what was the closest on hand and that was the pex that came with the consignment of studded or lego looking attaching board for the downstairs install.
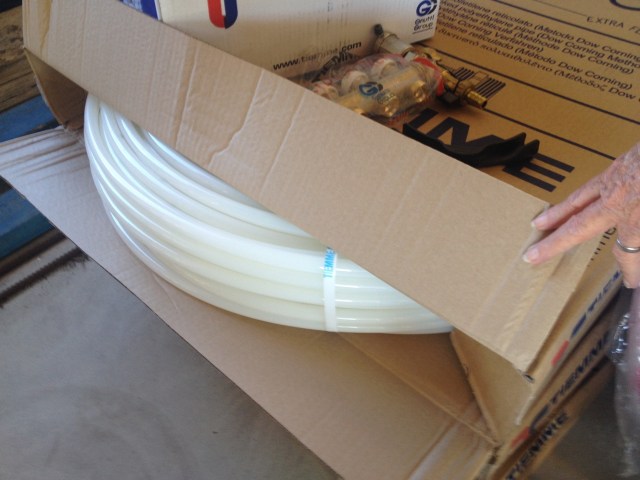
The pex

Close-up of the pex board

Hydronic pegboard arrives
The board for attaching the Pex (Downstairs)
It was a plastic oxygen barrier Cobra-Pex as opposed to what we were to soon find out the Al-CobraPex which came with the Warmboard S consignment and still packed away in the shed.

Pex for Downstairs

Pex for Warmboard
The two types of Pex supplied
So….of course the first pex to go down was upstairs and into the warmboard grooves.It was a bad mistake.We had three loops of this stuff, designed for downstairs because in the warmboard it squeaks as it rubs on the aluminium when you put pressure on it. I thought it might be OK once the floorboards were set down, but no. And under carpet I would assume not even a chance of it not squeaking. I guess I should have done more research as I will now have to pull up and relay those three loops and replace them with the proper pex. And we have just filled them with water, so the plumber will have to be called back as well. I had assumed too much. I assumed the pex we had been supplied would work with both systems. Fortunately Peter from Australian Sun Energy noticed a photo I had put up on this blog, and contacted me to say that it appeared that the plain pex had been installed in error and not the Alu-pex. I did look in the Warmboard S instruction book and had looked up their approved pex list and could not find the pex we had been supplied. The list in the installation brochure has American brands hence some confusion. I had forgotten that we had been supplied two different types of pex for two different types of installation. It’s called a learning curve.
Downstairs

The outer inso. barrier

First sections positioned

First of the loops

Finishing off
It also seems the downstairs loops have been laid down with some of the distances between the loops more than the optimum (I think) of 200mm. Having the room a funny shape probably didn’t help with the layout either.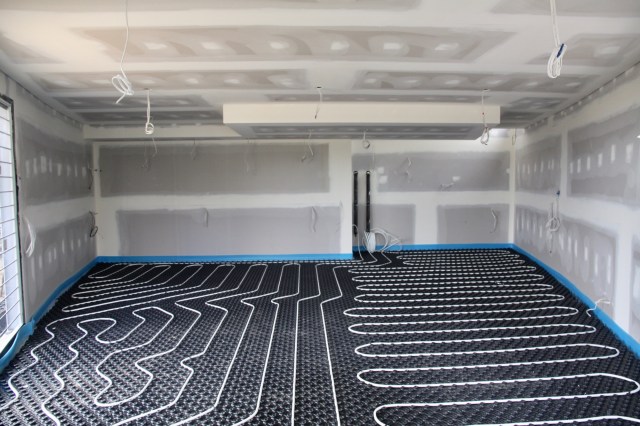 Maybe I will have to shorten these 2 loops, put them closer and add another as we still have one spare flow and return on the manifold.
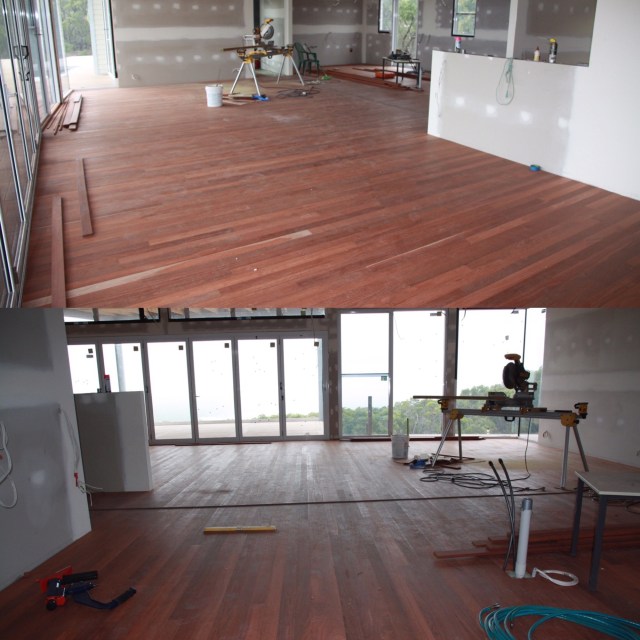
I have asked Peter Taylor from Australian Sun Energy/ Warmboard Australia to send me another package of Alu-pex to redo the upstairs. I have two loops of 100m spare, but will need three. I have also asked again for some documentation on the heat pump that powers our heating. We were hoping to get the system heating before Christmas so as to enable us to acclimatise the Jarrah flooring (now sitting in the garage) over the holiday break. However the electrician has not been in contact so we may now be looking at a setback of a few weeks to our construction time. I hope I am learning!!
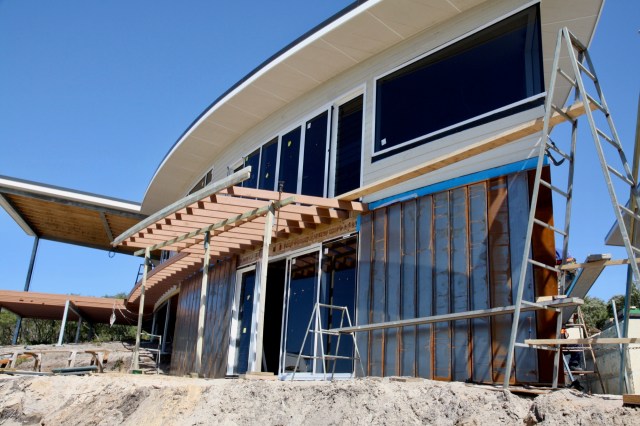
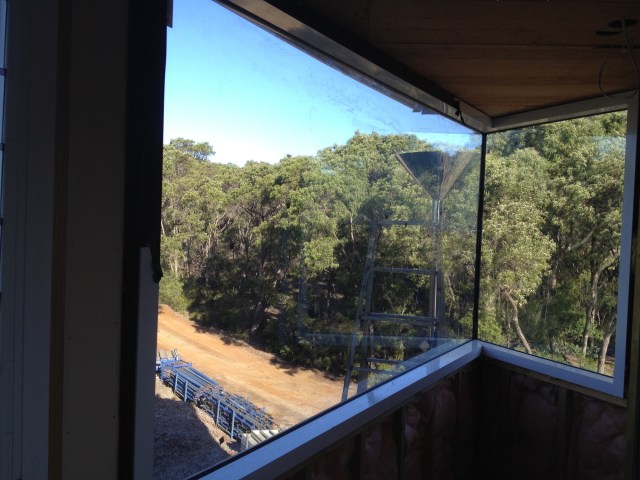
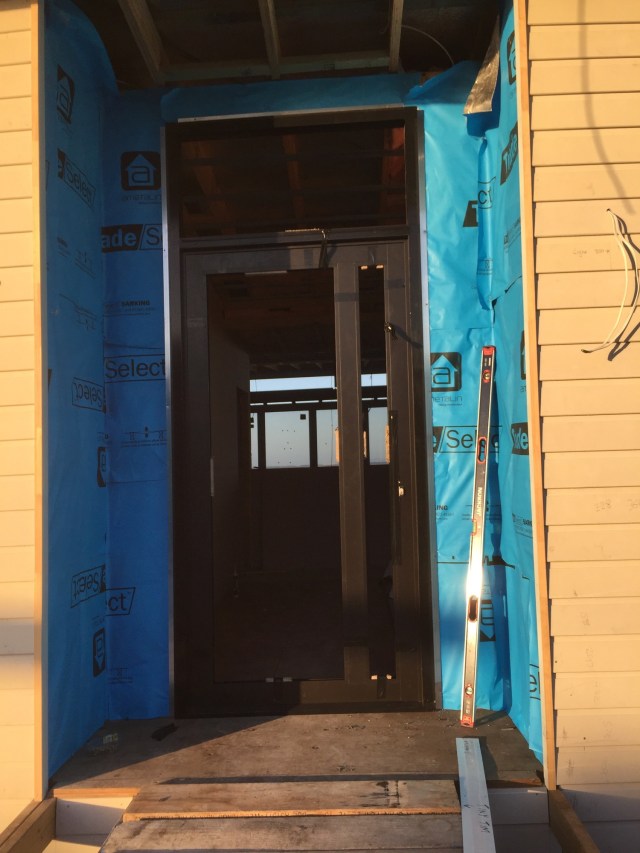
On a brighter note: The house is locked up. Mandurah glass put the last of the glass in and a temporary lock on the front door.

Fitting glass

Fitting top window

Finished door. Made by Mandurah Glass

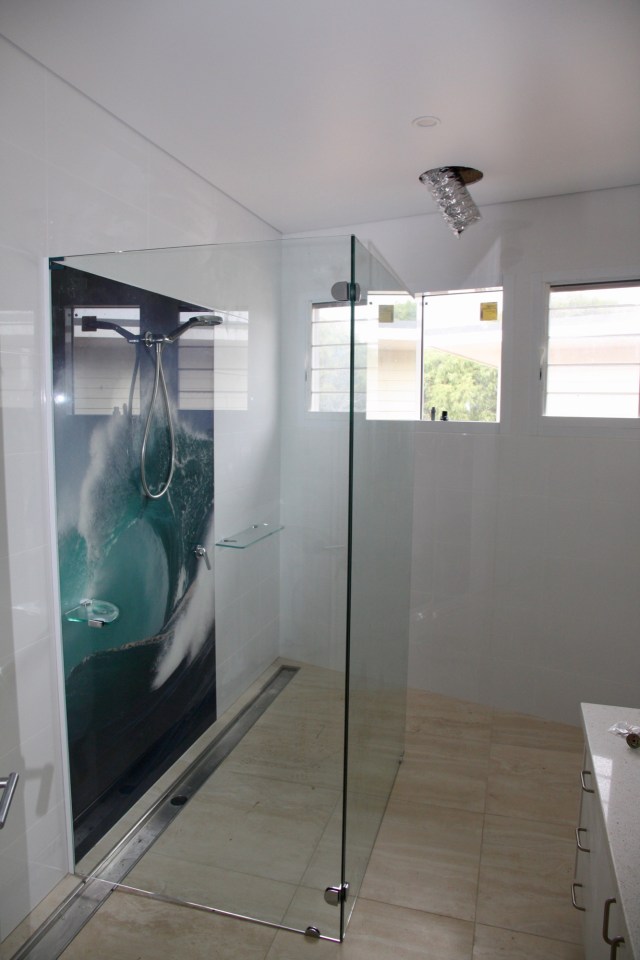
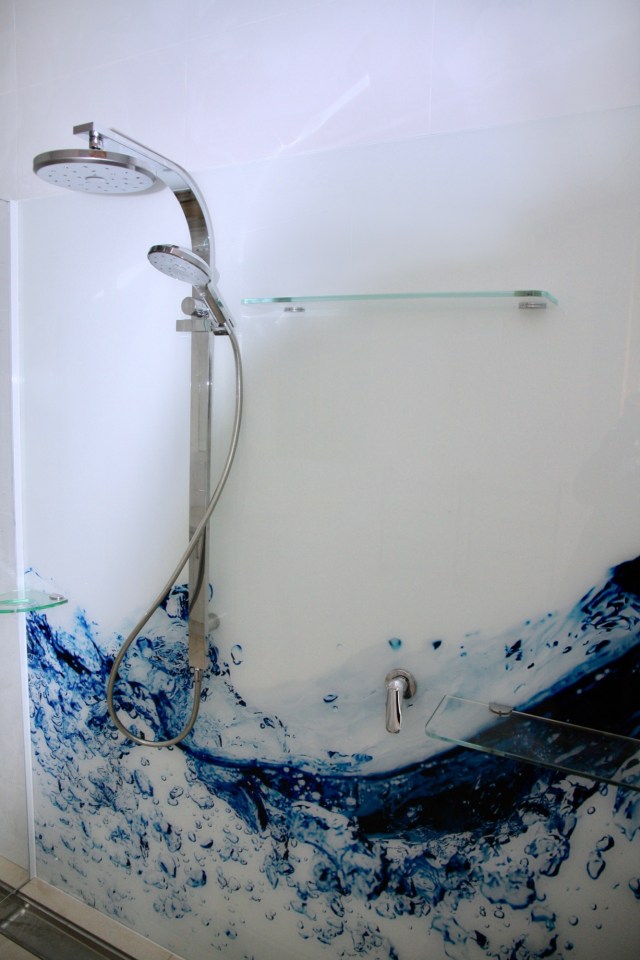
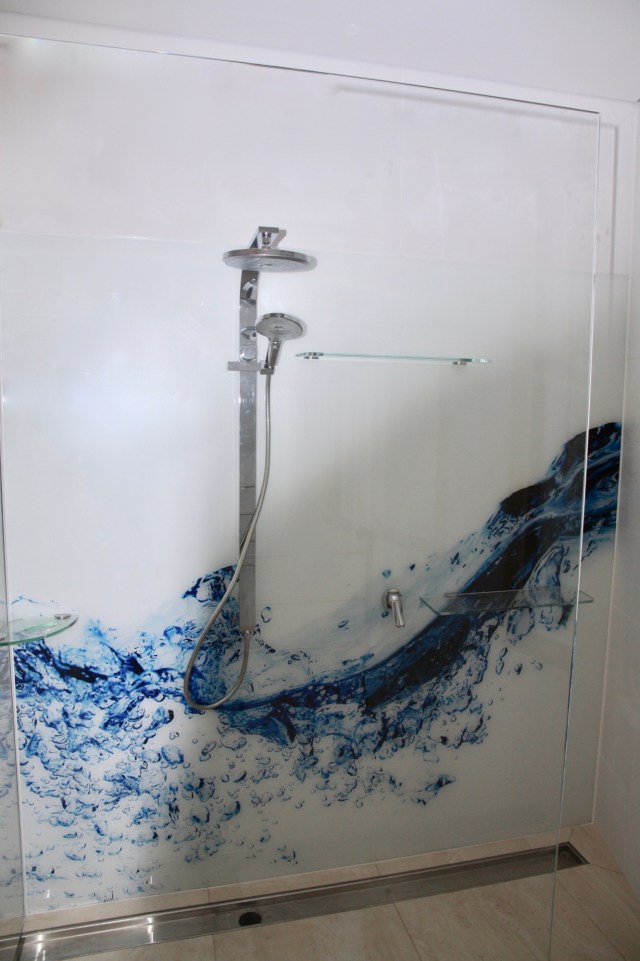
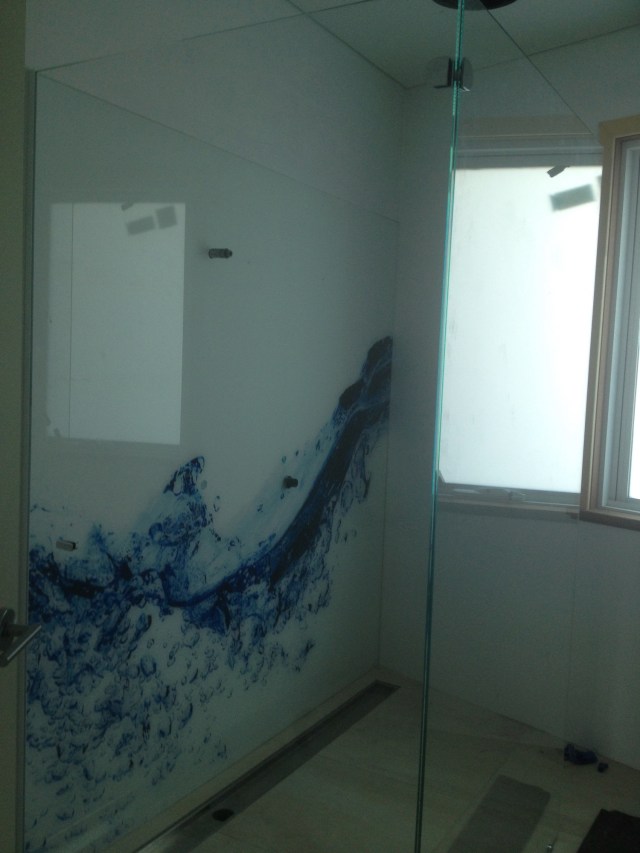
Ensuite switch-glass

It needs power..
Brad also fitted the switch glass in the ensuite
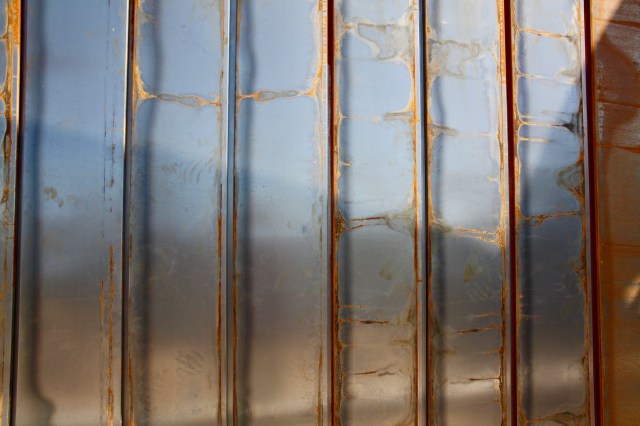
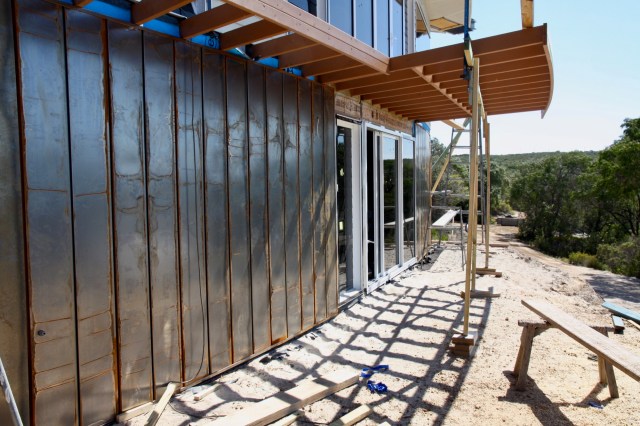
Hiding the Steel

Hiding the Steel

Mandurah Glass finishing
Some random Pics From 2016
This slideshow requires JavaScript.
I think that’s me done for 2016.
A New Year has begun and I guess we will be back at in a weeks time. Hopefully an electrician will ring before then and I will get my anticipated head start with conditioning the floorboards, if not we will continue as before and approach each challenge as a new experience and enjoy the ride.
A safe, happy and prosperous coming year to all.


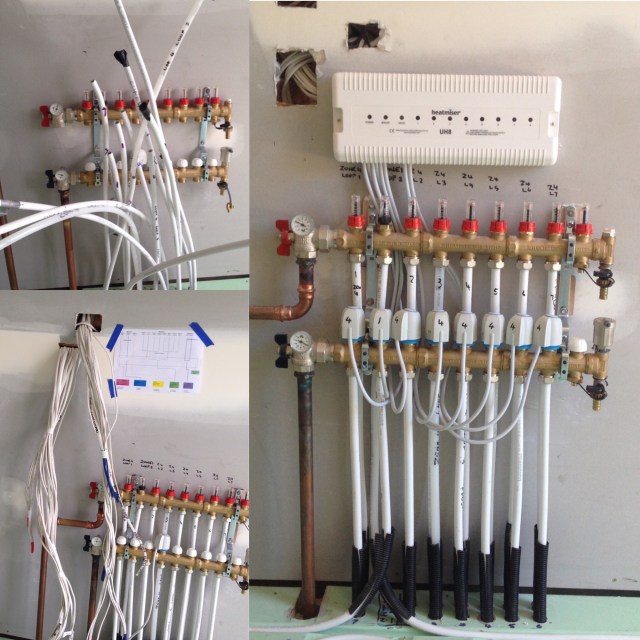 Shaun Collins, from S&E Electrical, had wired in the thermostats and control centre and given power to the heat and circulating pumps.